Hair Color Hacks: Lifestyle Blogger Edition
If you’re on the lookout for vetted tips to help you dye your hair at home, you’ve come to the right place.
We’re back at it again with the second edition of our hair color hacks series, with three beauty influencers who we can all relate to. In our experience, there are a thousand different ways to do pretty much anything. And Ditya Belwal, Chrissy Harless, and Hayley Paige show us their way of applying hair color and highlights in these candid videos. So lay out your color kits and put on your gloves, because we’re about to get down and dirty.
Ditya Belwal of “Glamdit”
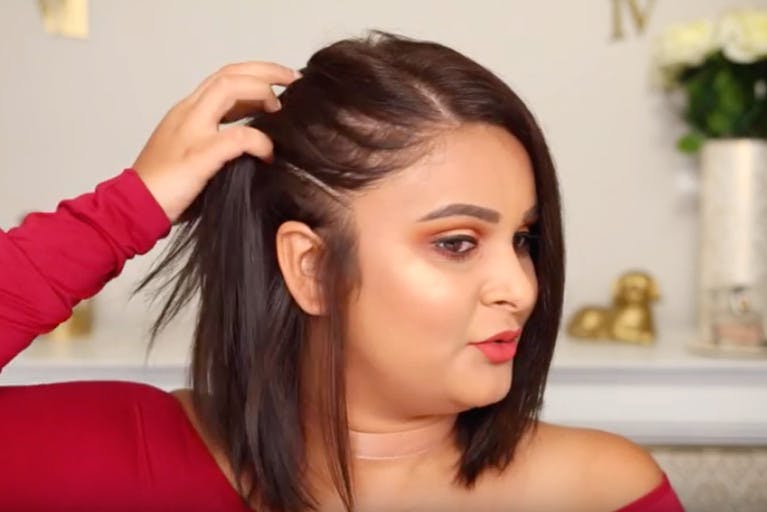
As a medical school graduate and freelance makeup artist, Ditya of Glamdit doesn’t disappoint with her unique perspective (down to the cellular level) on indie skincare, makeup, and hair. In this video, she shows how to get the most even, vibrant hair color.
HACK 1: APPLY COLOR TO DIRTY HAIR
It’s tempting to wash your hair before you color it, but dirty hair is the way to go. Why? Color molecules attach to your follicles best when they have small particles of dirt and natural oils to hold onto. “When you wash your hair it strips away the oils and stuff from your scalp, and when you are coloring, you need a sort-of protective layer—so two- to three-day-old dirty hair is the best. Also, when I freshly wash and condition, I just feel like my hair is too slippery and it doesn’t hold the color, or the color doesn’t penetrate. But I love coloring dirty hair.” If a day or two between washes is a little too much for you, go ahead and use a dry shampoo.
HACK 2: COMBINE TECHNIQUES FOR EVEN APPLICATION
To make sure she’s able to cover her grays completely, Ditya uses all her tools. “You want to take your brush and then start coloring like you’re painting your hair. I’m going to take a little bit and paint the opposite side to make sure it’s evenly coated.” And feel free to use your gloves to really get in there as Ditya does in this video. “With my second bottle of color, I like just to squeeze the color into my gloves first and just apply to the ends. Because we’ve already done the roots, this is just so much easier. You can also brush or comb through your hair, just to make sure everything is nice and even.” Our colorists recommend the brush or bottle technique, but go with whichever way makes the process more fun for you.
Check out Glamdit on Instagram, Facebook, Twitter, and Youtube to see more of her reviews.
HAYLEY JOHNSON OF “HELLO JOHNSON FAMILY”
A mom, blogger, and entrepreneur, Haley does a little bit of everything from wedding planning and beauty tutorials, to documenting her family’s colorful journey. In this video, she shows us how she eases back into her natural hair color with previously-lightened ends.
HACK 1: SKIP YOUR ROOTS
When you’re trying to maintain previously-colored hair from root to tip, you need one color formula for your roots and another for your ends. In this video, Haley is phasing out her previously-bleached ends and transitioning to a shade that matches her roots. So instead of using two bottles of color, she skips her roots and blends her ends formula into her regrowth. “My roots are my natural color, and it’s like dark brown; so I don’t want to put too much color all over my hair because I already have brown hair, and it’s not a dramatic difference from what I’m trying to go for. I just want one all-over color.” Basically, she’s doing a colorfill by replacing color she’s lost in the ends of her hair. We recommend talking to your colorist and asking for their advice before getting started, but this totally works for Haley. Plus, she can go back in a couple of weeks later to touch up her regrowth with her first unopened bottle of color.
HACK 2: START WITH YOUR LIGHTEST SECTIONS
We always recommend starting with your grays when coloring your hair at home, and the same concept applies when you’re coloring lighter sections of hair. “I’m just going to work with one side, starting with the parts that are lightest because, as you can tell, this part is really light and it will need longer to develop. I like to do it really quickly, so it all processes evenly and doesn’t get super dark.” In Haley’s case her ends are lighter, so to cover them up she’s starting at the ends so they process longer to match her darker roots.
Follow Haley on Instagram and Pinterest and check out her other Youtube videos.
Chrissy Harless: Beauty Reviews
Crushing it as a wife, mother, and beauty vlogger, Chrissy Harless reviews every subscription box you’ve ever secretly wanted and needed in your life. This girl covers everything from skincare and makeup to hair color and more.
HACK 1: START WITH INSPIRATION
Before you color your hair, it’s a good idea to know which base and tone you’re going for. The same goes for highlights, especially when you’re set on balayage highlights which are unique to the application technique. Having an inspirational photo can help you decide where you want to lighten up your hair. In this video, Chrissy does just that and show us her goal result before applying the Light Set mixture to her hair. The look she’s going for is a super-light, melted in highlight, which helped her decide on an application technique that will give her that result.
HACK 2: SATURATE YOUR ENDS AND USE YOUR HANDS
Applying balayage highlights at home is pretty new for most people, but Chrissy found her groove and the technique that worked for her. “In every video I watched online, one thing they kept saying was to make sure that the ends are fully saturated.” In the video, Chrissy tucks a strand of her hair under the bristles of her tint brush and pulls the lightener through to saturate her ends for that “melted balayage look.” Chrissy went in with her fingers to help blend the lightener into her strands for that unique finish.
Follow Chrissy on Instagram and Pinterest and check out her other Youtube videos on coveted unboxing experiences and all things beauty.
Coloring your hair at home can be easy and fun. For more hair color tips and tricks like these, check us out on Instagram, Facebook, Pinterest, and Twitter.


